Reliable push alerts on iPhone from a self-hosted stack
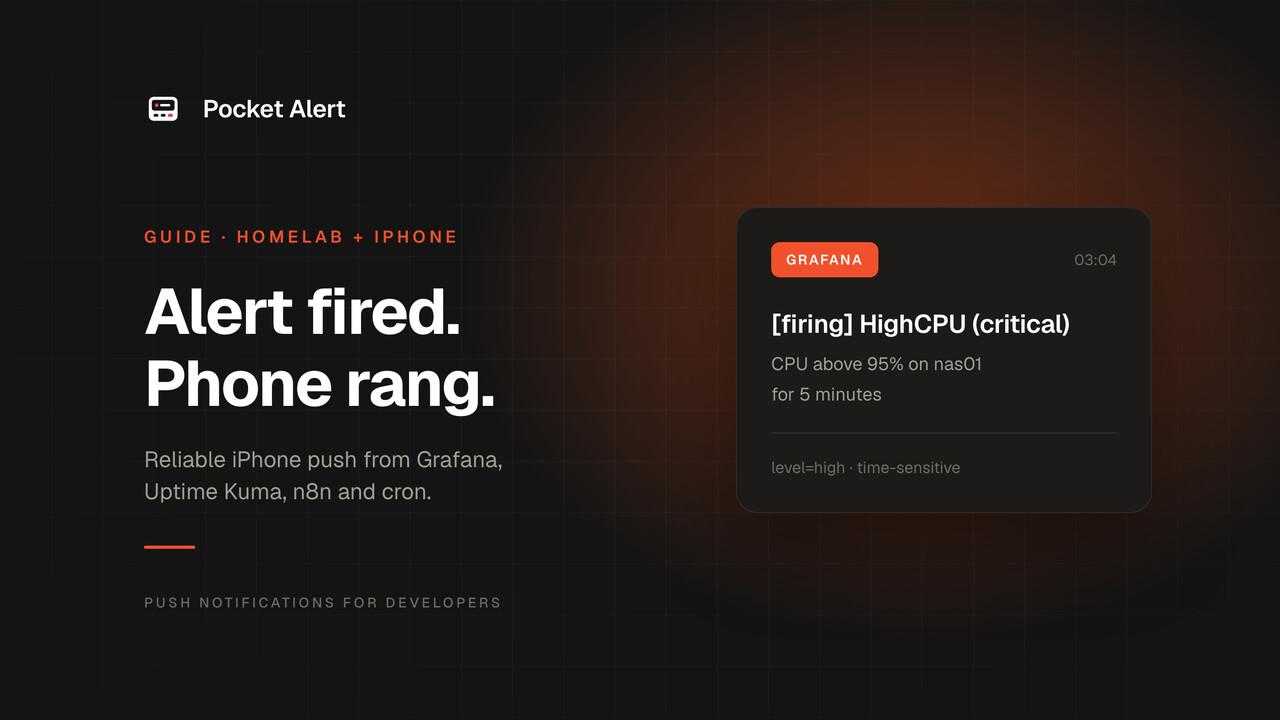
Your Grafana alert fires at 3 a.m. Your server logs show the webhook call succeeded. Your iPhone stays silent. Self-hosted monitoring is good at detecting failures. Getting the message onto a phone is where most homelab setups break down.
This guide explains why iPhone push from a self-hosted stack is hard, what a reliable path looks like, and how to connect Grafana, Uptime Kuma, n8n, cron jobs, and shell scripts. The first working alert takes about five minutes.
Why iOS push breaks in self-hosted setups
Only APNs can reach an iPhone
Every push to an iPhone goes through Apple Push Notification service (APNs). Your server cannot open a connection to the phone and send data directly. The phone keeps one long-lived connection to Apple. Your server sends each message to APNs over HTTP/2, authenticated with a key from your Apple developer account. APNs then delivers it down the phone's existing connection.
That means your stack needs an APNs-capable sender in the middle. The phone never polls your server, so a plain webhook endpoint on your LAN has nothing to deliver to. For a deeper look at the delivery path, see how push notifications reach an iPhone.
Running your own sender is more work than it looks
You can talk to APNs yourself. You need a signing key (a .p8 file for token auth, which does not expire yearly, or a TLS client certificate per app, which does), a registered app, a way to store device tokens, and code that handles APNs errors and retries. You also need an iOS app that registers the device and shows the alert. Each piece is manageable alone. Keeping all of them working through key rotation and Apple policy changes is the real cost.
Most self-hosters need the result, not the plumbing. A hosted service that already runs the APNs side lets your stack stay simple: one HTTP request per alert.
Focus, mute and interruption levels
iOS decides how loudly to deliver each notification based on its interruption level, your Focus modes and the app's settings. Three things matter for alerts:
- Notifications must be allowed for the app. Check this first in iOS Settings. A muted app will never show your alert, no matter how the server behaves.
- Time-sensitive notifications can break through Focus. In Pocket Alert,
highmessages arrive as time-sensitive. Lower levels wait for the Focus to end. - Critical alerts ignore the mute switch and Do Not Disturb. They need a special entitlement that Apple grants after review. Pocket Alert has it:
criticalmessages on paid plans play a sound even when the phone is muted, as long as you allowed Critical Alerts for the app. If you turned that permission off, they arrive as time-sensitive instead.
The priority section below covers how to set the level.
How a reliable setup looks
Your stack detects a problem and sends one HTTP request. A hosted service takes it from there:
Grafana / Uptime Kuma / n8n / cron + CLI
        │  HTTPS (API call or webhook)
        ▼
Pocket Alert  ──►  APNs  ──►  iPhone (Pocket Alert app)
The division of work looks like this:
| Your stack does | Pocket Alert does |
|---|---|
| Detects the failure and decides what matters | Receives the request and checks your API key or webhook URL |
| Formats the text, or sends its own JSON | Maps fields, sets the priority level, and delivers to APNs |
| Sends the event once, when it happens | Pushes to every device on the account, or to the device you name |
| Keeps its own logs | Keeps message history and a request log for each webhook, so you can see what arrived and what failed |
Send your first alert with curl
Sign up at pocketalert.app/signup, open API keys, and click Create New Key. The key is shown once, so copy it somewhere safe.
Store it in an environment variable and send a message:
export PA_KEY="YOUR_API_KEY"

curl -X POST "https://api.pocketalert.app/v1/messages" \
  -H "Token: $PA_KEY" \
  -H "Content-Type: application/json" \
  -d '{
    "title": "Backup finished",
    "message": "nightly-backup on nas01 completed in 14m",
    "level": "high"
  }'
A successful call returns JSON with tid, title, message, application, device, and created_at. Keep the tid if you want to match a push to a log line later.
Three things trip people up:
- Set the Content-Type. The API accepts JSON or
multipart/form-data. It rejectsapplication/x-www-form-urlencoded, which is whatcurl -dsends when you leave the header out. Use-H "Content-Type: application/json"with a JSON body, or-Ffor form fields. titleandmessageare required. Everything else is optional.- Omit
device_idto reach every device on the account. Add it when you have more than one phone and want a specific one.
Send alerts from the command line
The Pocket Alert CLI is the fastest way to wire alerts into existing scripts. Install it with the shell script, Homebrew, or Go:
curl -fsSL https://raw.githubusercontent.com/PocketAlert/cli/main/install.sh | sh
# or
brew install pocketalert/tap/pocketalert
# or
go install github.com/PocketAlert/cli/cmd/pocketalert@latest
Run pocketalert auth once and paste your key. The key is stored in ~/.pocketalert/config.json, readable only by you. On servers, containers, and CI, set POCKETALERT_API_KEY instead.
Send a message:
pocketalert send "Deploy finished" "v2.4.0 is live" --level high
Pipe command output straight into an alert:
df -h | pocketalert send "Disk report" --level default
Or wrap a command with exec. It runs the command as usual, then sends one push with the exit status, the duration and the last lines of output, and passes the exit code through:
pocketalert exec -t "Database dump" -- ./dump.sh
Use -q to print only the message ID, which is handy for scripting. Add --json to any command for machine-readable output.
Webhooks with field mapping
When your source already sends JSON, such as Grafana, Uptime Kuma, or a custom service, you don't need to write a sender. Create a webhook in the console at Webhooks, and Pocket Alert gives you a receive URL like https://p4a.me/wh/1234abcd. The slug is unguessable, and each URL is scoped to one webhook and one application. Point your source at that URL with POST.
The push arrives titled "Webhook" plus the webhook's name, so name it after the source, for example Grafana. The message template pulls values from the incoming JSON with GJSON paths:
%object.field%for nested fields%items.0.name%for array items%users.#%for a count*as the whole template sends the entire body
For example, a template for an incoming payload like this:
{
  "service": "api-gateway",
  "check": "tls-expiry",
  "state": "warning",
  "detail": "certificate expires in 6 days"
}
could be:
[%state%] %service%: %check%
%detail%
A placeholder whose path is missing renders as an empty string, so a typo shows up as a gap in the text, not as an error.
Before you write a template, capture the real payload. Open the webhook tester, copy the test URL, and point your source at it. The tester shows the method, headers, and body, so you can write paths against what your source actually sends. Do not send production secrets to a public test URL. Anyone who knows the URL can read what arrives there.
Priority works in two ways. Set a default level on the webhook, or include a top-level level field in the payload, which overrides the default. Valid values are silent, low, default, high, and critical, or the numbers -2 to 2. An invalid level is ignored, and the webhook's default applies.
Integrations
Grafana alerts
In the console, create a webhook named Grafana with this message template:
[%status%] %commonLabels.alertname% (%commonLabels.severity%)
%alerts.0.annotations.summary%
Copy its receive URL. In Grafana, go to Alerting → Contact points → Add contact point, choose the Webhook integration, and set:
Integration: Webhook
URL:         https://p4a.me/wh/1234abcd
Method:      POST
Attach the contact point to a notification policy so matching alerts route to it, then press the contact point's Test button. A firing alert called HighCPU with a severity="critical" label shows up as [firing] HighCPU (critical). When it clears, the same push arrives with resolved in the brackets.
Three notes. The severity part is empty unless your rules set that label. The template reads only the first alert in a group (alerts.0), so if one notification bundles several alerts, you see the first summary only. And the pending period on each rule (for example, 5 minutes) is the cheapest way to stop a flapping metric from waking your phone every minute. The Grafana guide covers more fields.
Uptime Kuma
Uptime Kuma sends a webhook on each status change. Add a notification of type Webhook, set Post URL to your receive URL, and keep the JSON preset as the request body.
In Pocket Alert, use %msg% as the template. msg is the one field present in every request Uptime Kuma sends, including certificate warnings and test messages, and it already reads like "[Website] [🔴 Down] timeout of 4000ms exceeded". Set the webhook's default level to high.
With the preset body, recoveries arrive as loud as outages, because Uptime Kuma does not add a level field on its own. The Uptime Kuma guide shows a custom body that sends high for down and low for up.
n8n
In an n8n workflow, add an HTTP Request node after the step that detects a problem:
- Method:
POST - URL:
https://api.pocketalert.app/v1/messages - Authentication: Generic Credential Type, then Header Auth. Name
Token, value your API key. - Send Body: on, Body Content Type JSON, Specify Body Using JSON, with an expression that builds the whole object:
{{ JSON.stringify({
  title: 'Disk almost full on ' + $json.host,
  message: $json.detail,
  level: 'high'
}) }}
JSON.stringify escapes quotes and line breaks in the values, which plain "{{ $json.detail }}" inside a JSON string does not. For failures across all workflows, set up an error workflow that starts with an Error Trigger: the failed workflow's name is in $json.workflow.name and the error in $json.execution.error.message. The n8n guide has a ready workflow to import.
Scheduled and recurring checks
Cron jobs fail silently, which is the worst time to miss an alert. Put the alert in the job itself:
POCKETALERT_API_KEY=YOUR_API_KEY
PATH=/usr/local/bin:/usr/bin:/bin
0 3 * * * pocketalert exec -t "Nightly backup" -- /opt/scripts/backup.sh
Cron does not load your shell profile, so the two lines at the top give the job the key and a PATH that includes the CLI. A successful run arrives as "✓ Nightly backup" at the default level. A failed one arrives as "✗ Nightly backup (exit 1)" at high, with the last lines of output in the message. Add --on failure if you only want to hear about failures.
exec tells you when a job fails, not when it never runs. For that, pair it with a dead man's switch, as in the cron job monitoring guide.
If you're not sure about a schedule, paste it into the free cron expression tool. It decodes each field into plain English and lists the next run times. The next-run times use your browser's time zone, which may differ from the server's.
Priority levels and critical alerts
Five levels are available, from quiet to loud:
| Level | Value | On iPhone | Typical use |
|---|---|---|---|
silent | -2 | No sound, straight to Notification Center | "Resolved" events, logs you may read later |
low | -1 | Passive, does not light up the screen | Informational |
default | 0 | Normal notification with sound | Routine results, such as a finished backup |
high | 1 | Time-sensitive, breaks through Focus | Needs attention soon |
critical | 2 | Critical Alert, sounds even when muted | Needs attention now. Paid plans only |
On the free plan, a critical message is delivered at high. It still arrives immediately as time-sensitive, but it respects the mute switch.
A reasonable mapping for a firing alert and its resolution:
- firing:
high, orcriticalfor the few things worth waking up for - resolved:
silent
Set this with the webhook's default level, or with a level field in the payload when your source can send one.
Checklist: make sure your alert arrives
- Allow notifications for the Pocket Alert app in iOS Settings, including Time Sensitive Notifications and, on a paid plan, Critical Alerts.
- Test with Focus on. Turn on the Focus mode you use, send a
hightest with the curl command above, and confirm it gets through. If it doesn't, check the app's notification settings for that Focus. - Confirm the call reached Pocket Alert. API messages show up in the message history in the app and the web console. Webhook calls, including rejected ones, show up in that webhook's request log. If the call is there, the problem is on the phone. If it isn't, the problem is in your source.
- Check your source's logs for the outgoing request: URL, status code, and response body.
- Watch the daily limit. The free plan allows 50 notifications a day. A flapping check can use that up in an hour, so tune thresholds and pending periods before you scale up.
pocketalert usageshows how many you have left today.
If an alert still doesn't arrive, work through the steps in order: source log, then Pocket Alert history, then level and device settings. This order isolates the failing hop quickly.
FAQ
Can I send push notifications to an iPhone without my own Apple developer setup?
Yes. A hosted service that already connects to APNs handles the Apple side. You send an HTTP request with your API key, and the service delivers it to its iPhone app. Running your own sender requires signing keys, an app registration and an iOS app of your own.
Why do my self-hosted alerts arrive late or not at all?
Usually one of three things: notifications are not allowed for the app, the active Focus holds back the alert's level, or the request never reached the service. Check the message history or webhook log first to see which one applies.
Will alerts get through when Focus is on?
high messages arrive as time-sensitive, which can break through Focus once notifications are allowed. critical messages on paid plans go further and sound even when the phone is muted. Lower levels wait. Test your own Focus setup before you rely on it.
Is there a free plan?
Yes. The free plan includes 50 notifications a day, 1 device, 1 application, and 1 webhook. Critical messages are delivered at high priority on the free plan.
Next steps
You can have your first iPhone alert in about five minutes:
- Sign up and install the app on your iPhone.
- Create an API key at API keys.
- Run the curl command from this guide.
Once that works, connect one real source: a Grafana contact point, an Uptime Kuma notification, or a cron job. For more homelab sources, see homelab alerts and the Proxmox guide. For other integrations, see webhook notifications and Grafana alerts. If you're comparing options, the alternatives page lays out the differences.